You’ve got your product ready to roll, your socials popping; Instagram, TikTok, and maybe even LinkedIn, all buzzing with content and you’re officially prepped to launch. But hold up! You realize you’re missing one major piece of the puzzle: your basic website. That’s when the question hits you, “How to create a website for my business?”

Here’s the good news: building a free website is no longer the overwhelming, tech-heavy task it used to be. Gone are the days of needing a computer science degree or shelling out a fortune for a developer for a website builder. With the rise of beginner-friendly website building platforms like Wix, Squarespace, and Shopify, creating a website is as accessible as making a TikTok video (well, almost). In this step by step guide, we will teach you all the basics create your professional looking website in 12 easy steps.
But before you dive in, let’s address the basics: What do you actually need for your business website?
How to Make a Website for Your Business: A Step by Step Guide
Even if you don’t have a website builder just yet, having a logo or at least a recognizable visual identity is crucial. Think about it: when you see the golden arches of McDonald’s or the swoosh of Nike, you instantly know who they are.

That’s the power of a strong logo. For small or new businesses, this visual identity helps clients associate your brand with credibility and professionalism, even before you’ve fully launched.
Step 1: Have Your Business Logo Ready
If you’ve already got your logo locked and loaded, feel free to skip ahead to the next section. But if not, don’t stress—creating a logo doesn’t have to be a time-consuming or expensive process.
Take the first step towards building your brand with a logo. Try the Arvin AI Logo Designer now and bring your vision to life in minutes.
How to Create Your Logo
The good news? You don’t need to hire an expensive designer or spend weeks agonizing over sketches or brainstorming ideas.
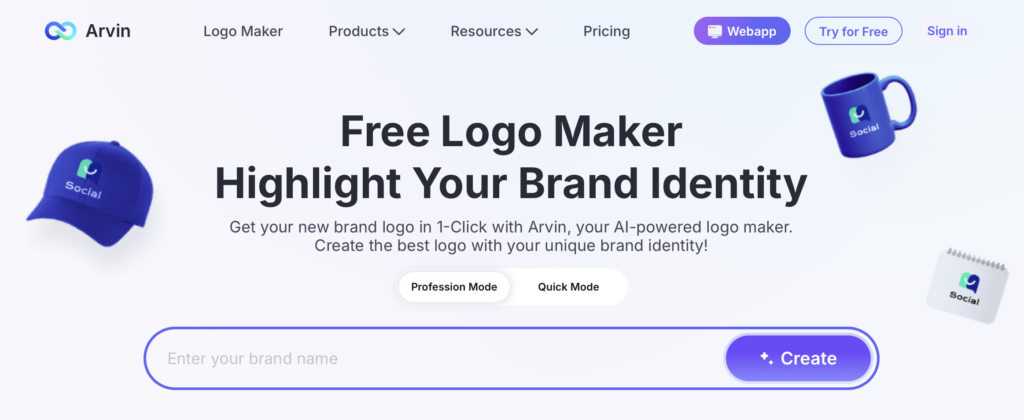
Tools like Arvin AI Logo Designer make creating a professional logo quick, easy, and hassle-free in an all in one platform. Whether you’re envisioning something bold and modern or soft and elegant, AI-powered platforms can bring your ideas to life in minutes.
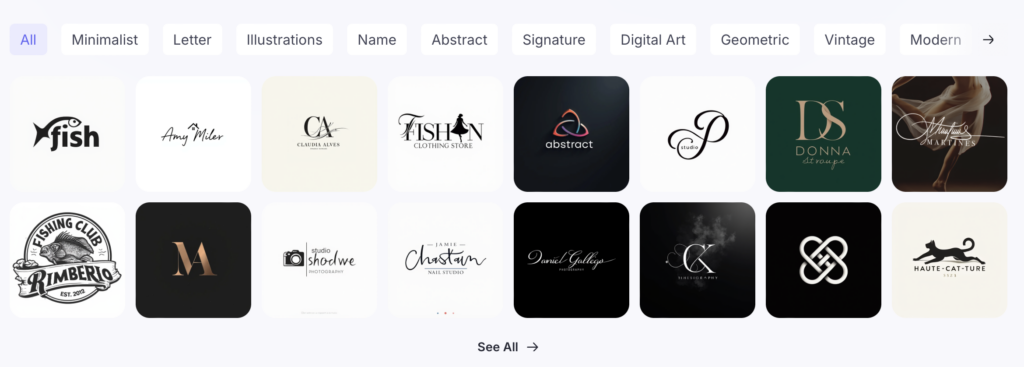
For example, let’s say you’re starting a pet accessories brand. You could use Arvin AI Logo Designer to design a logo featuring a chic paw print with your brand colors and typography—all in just a few clicks. Not only does this keep you moving forward with your website-building process, but it also ensures you have a polished visual identity to tie everything together.
If you’re looking for more information regarding the branding, check out our Brand Bible Building Guidelines!
Step 2: Determine the Purpose of Your Website
Before diving into the nitty-gritty of website design, the first question you need to answer is: What is the purpose of your business website? Every business has unique needs based on their target audience, and the primary function of your business website will shape everything—from its layout to its features.
a. Selling Products
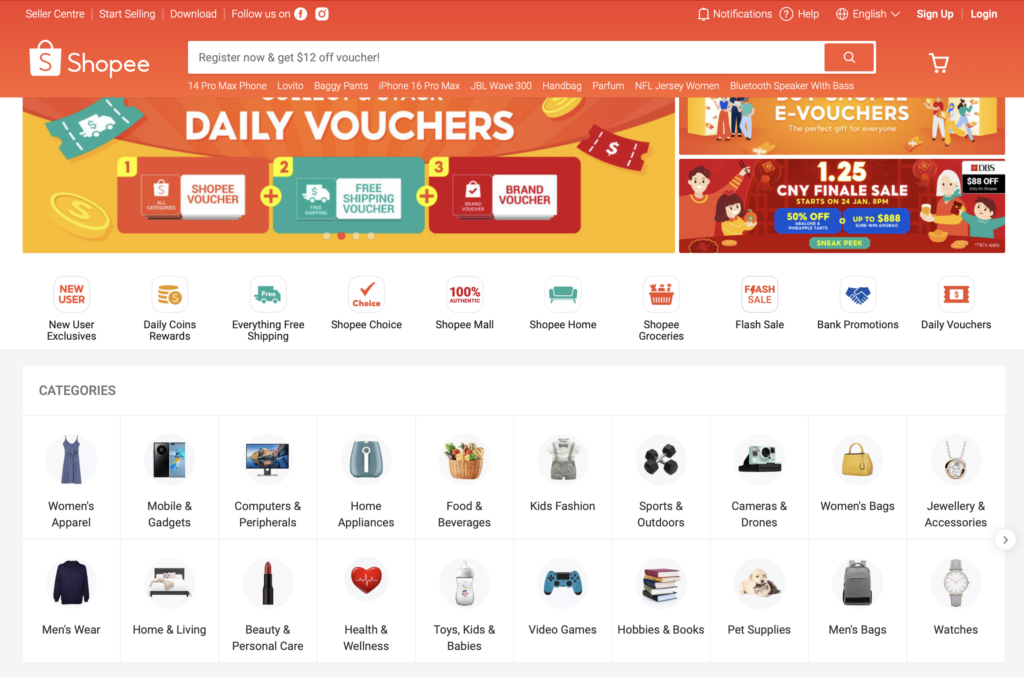
If your business website is all about products increasing sales, you’ll need an e-commerce online store layout that prioritizes simplicity and usability.
Key features include:
- shop page, having a smooth,
- integrated checkout process,
- search and filler options
Your layout might feature: a homepage banner promoting sales, followed by product categories, customer reviews, and an intuitive navigation bar for quick access. Ensure that your website template has all of these features to maximise your website builder.
b. Showcasing Your Services

Taken from https://www.subragovinda.com/
For businesses selling services (e.g., photography, consulting, or fitness training), the focus will be on highlighting expertise and building trust especially for new clients.
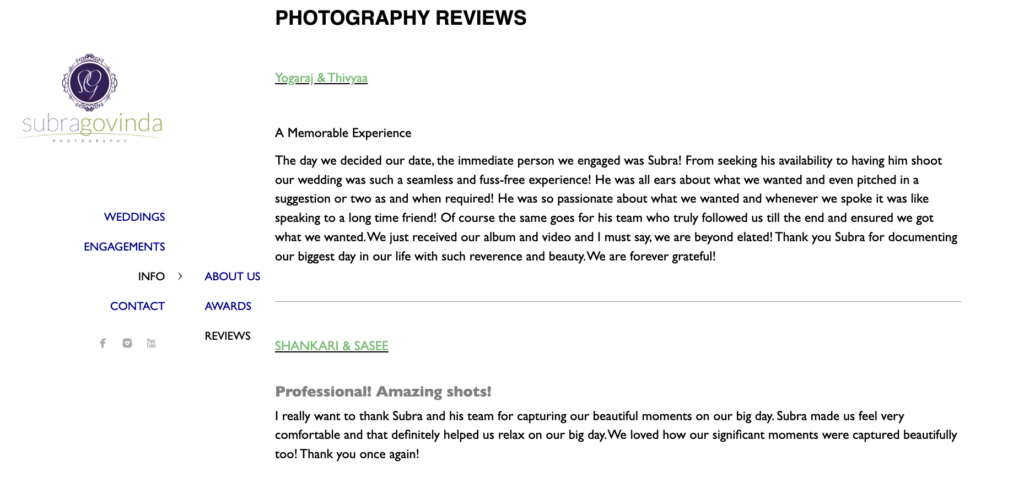
In order to do that, you must first think about what actions you can do to show your capabilities that your clientele will likely look for.
Some examples include:
- a portfolio
- client testimonials
- social media accounts
c. Sharing Information or Building a Community

Some business websites exist to share knowledge or build a following. Think blogs reviewing makeup products or travel destinations, independent news sites, or product forums. Amongst the business websites above, there is a an overlap in which they have search bars, organised content and tags (#food) or a commenting ability for their client base.
Social media buttons are also often linked to their other channels where they post relevant content in different mediums or forms. Ensure that your website template has these functions.
d. Promoting a Brand or Cause
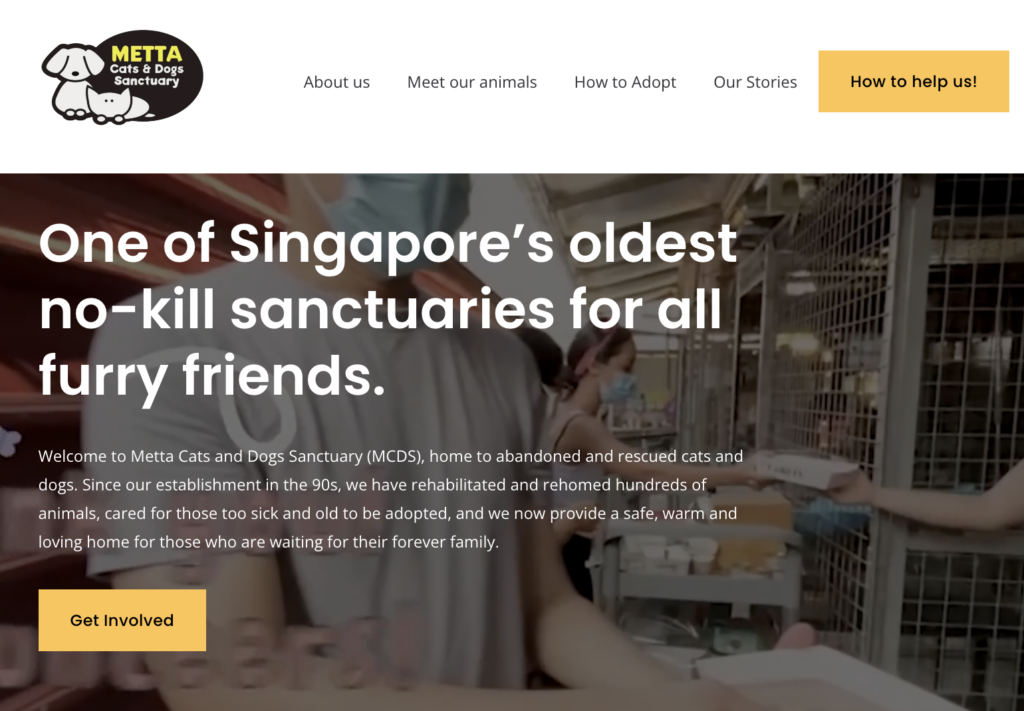
Another type of business website would be one promoting a brand or cause. Nonprofits, advocacy groups, and personal brands often use websites to build awareness and connect with supporters. How they differ from other business websites is that they often have a mission statement and a donation button built in to support their cause.
Step 3: Choose a Website Builder
Once you know the purpose of your business website, it’s time to select the right website builder. Think of it as choosing the toolkit to build your online home. There are several types of business website builders, each catering to different needs, skill levels, website templates and budgets.
| Factor | Recommendation |
|---|---|
| Skills | Beginners should choose drag-and-drop or AI-powered options (e.g., Wix, Squarespace) with free templates. Tech-savvy users can explore CMS (e.g., WordPress.org) or developer-friendly platforms (e.g., Webflow). |
| Budget | Some builders are subscription-based (e.g., Shopify, Squarespace), while others like WordPress.org are free but require separate hosting fees. |
| Scalability | If you expect your website to grow, opt for a platform that supports additional features or increased traffic, like Shopify or WordPress.org. |
| Features | For e-commerce, choose Shopify. For blogs or content-heavy sites, WordPress.org is ideal. |
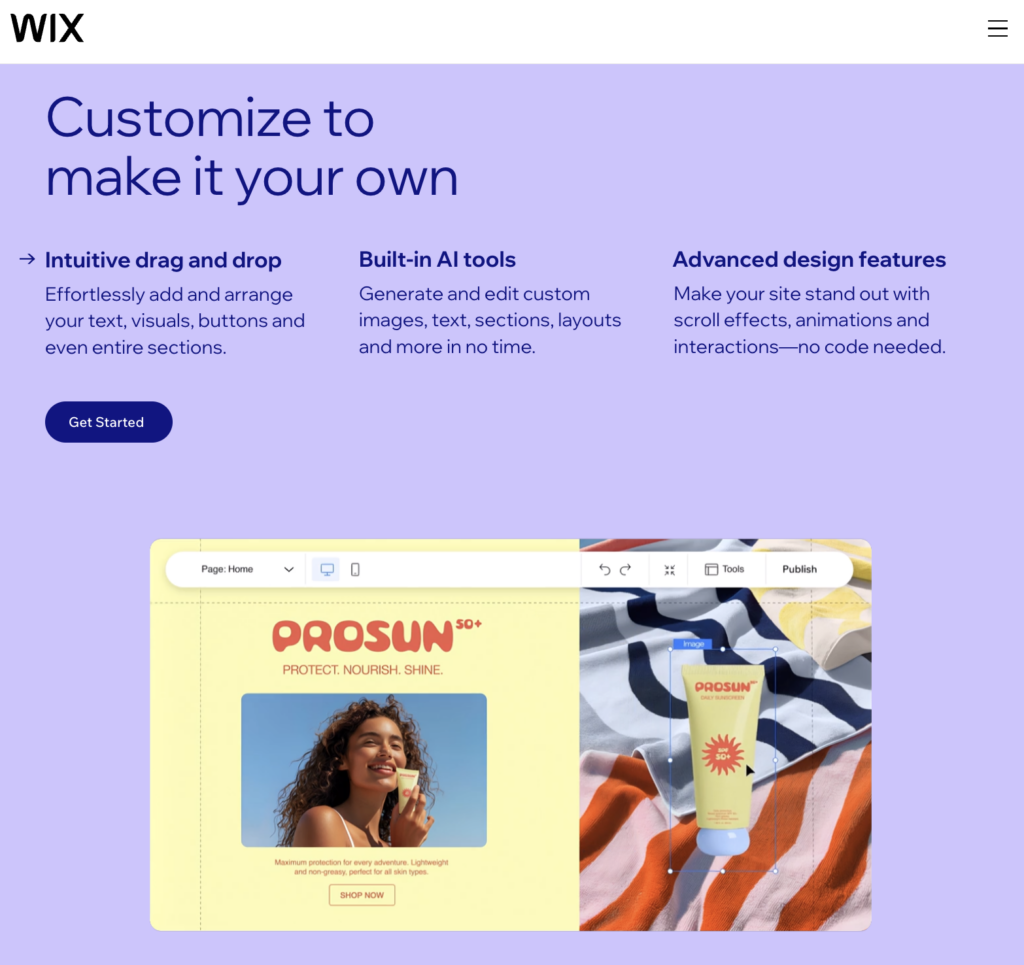
a. Drag-and-Drop Builders
This option is perfect for beginners, small businesses, and anyone looking for ease of use without technical skills. These platforms let you create a website simply by dragging and dropping elements like text boxes, images, and buttons onto the page. You don’t need to write a single line of code and its still fully customizable! Some even come with free website templates, which makes an easy process even easier!
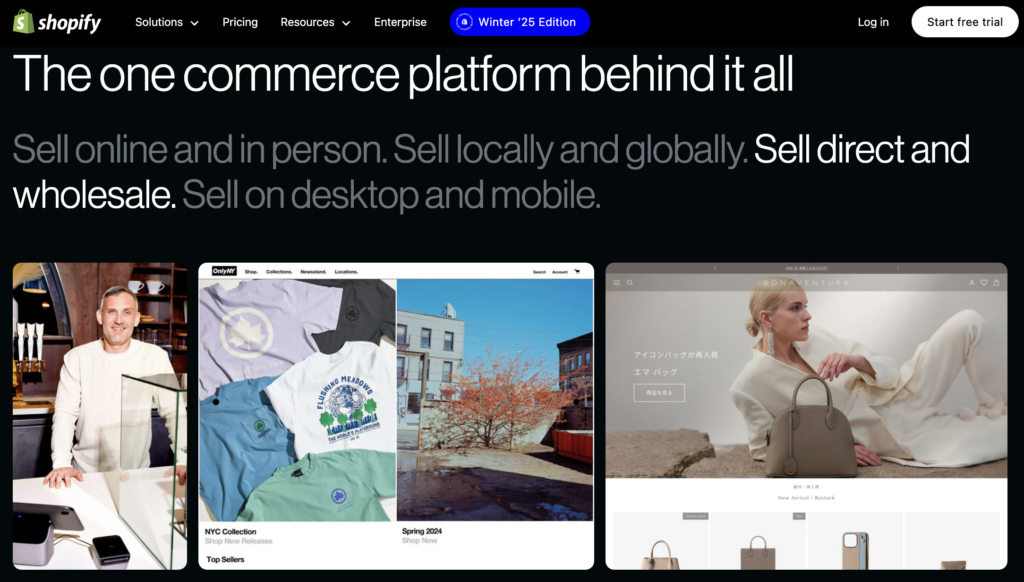
b. E-Commerce Online Store Builders
Used for busineses like online stores and businesses focused on selling products. These platforms are designed specifically for e-commerce sites, with features that make it easy to showcase products, manage inventory, and process payments.
c. Content Management Systems (CMS)
Perfect for larger businesses, blogs, and business websites requiring scalability.
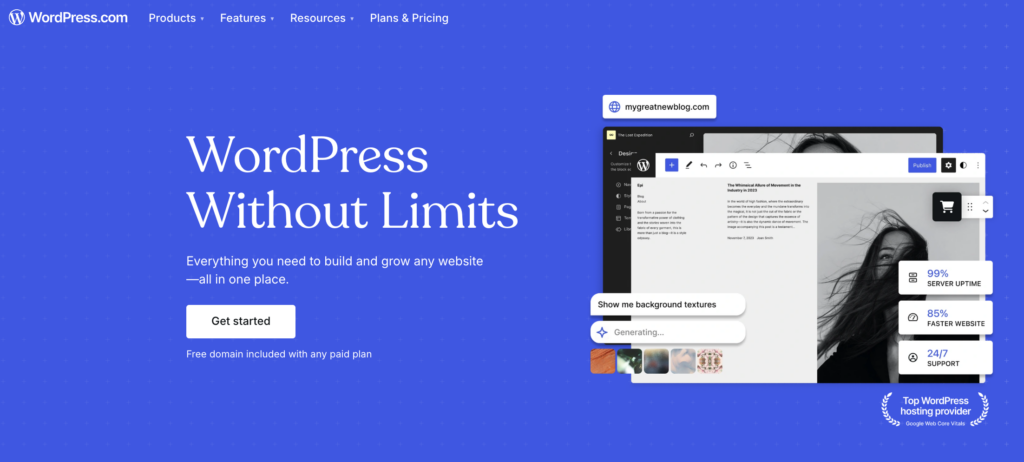
CMS platforms offer more customization and flexibility but may require some technical knowledge to set up and maintain a new site. You can often start creating content on many website builder systems directly rather than make a new website.
d. Developer-Friendly Website Builders
Perfect for: Tech-savvy users or those with access to developers.

These platforms provide complete control and customization through coding, ideal for unique or complex websites, not so much for those looking for free small business websites.
e. Choose a Web Host

Before your website can go live, it needs a home on the internet—that’s where a web host comes in. Think of it as renting space on a server to store all your website’s files, images, and data, making it accessible to visitors online.
What is Web Hosting?
It is a service that allows your business website to be visible on the internet. When users type in your domain name, the web host delivers your website content to their browser. Without a host, your website would just be files sitting on your computer.
| Hosting Type | What It Is | Best For | Pros | Cons | Examples |
|---|---|---|---|---|---|
| Shared Hosting | Multiple websites share the same server resources. | Small businesses, personal blogs, low traffic | Affordable, beginner-friendly | Slower load times, limited customization | Bluehost, HostGator, SiteGround |
| VPS Hosting | A single server partitioned into virtual servers with dedicated resources. | Medium-sized businesses, moderate traffic | More control, better performance, scalable | Higher cost, some technical knowledge required | InMotion Hosting, A2 Hosting, DigitalOcean |
| Dedicated Hosting | Renting an entire server for your website. | Large businesses, high-traffic websites | Full control, unmatched performance, reliable | Expensive, requires advanced technical knowledge | Hostwinds, Liquid Web, GoDaddy |
| Cloud Hosting | Hosting on a network of interconnected servers instead of a single physical server. | Growing businesses, unpredictable traffic | Highly scalable, reliable, handles traffic spikes well | Can be more expensive than shared hosting | AWS, Google Cloud, Cloudways |
| Managed Hosting | Hosting provider handles server maintenance, updates, and security. | Hands-off experience for businesses | Hassle-free, secure, optimized for performance | Higher cost compared to unmanaged options | WP Engine, Kinsta, Flywheel |
Step 4: Pick a Custom Domain Name
Your domain name is the business website address, the first thing visitors will see when they search for your business online.
A great domain name is memorable, available on all business website platforms, and reflective of your brand. To choose the perfect one, start by keeping it short and simple. Long, complicated names are hard to remember and prone to typing errors. For instance, instead of www.JohnsCustomFurnitureNDesign.com, a more streamlined option like www.JohnsFurniture.com is easier for peopole to recall.

Next, focus on making the domain brandable. It should resonate with your business and capture its essence. Using relevant keywords can also help with search engine optimization (SEO), but don’t overdo it, your name should remain natural and not overly stuffed with keywords.
Finally, think long-term. Many business website builders will allow you to choose a domain for a small fee that can grow with your business and avoid overly niche names that might limit future expansion. For example, www.KidsTeeCorner.com could feel restrictive if the brand later expands into adult clothing.
How to Register Your Domain Name
Registering your business domain name is an essential step to establish your online presence. It’s like claiming your website’s unique address on the internet. To start, choose a domain registrar.
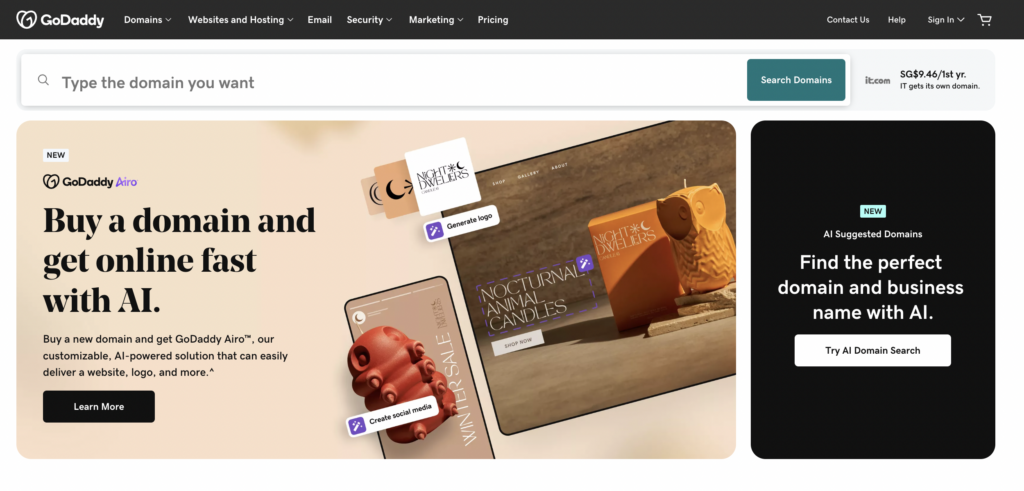
Once you’ve selected a registrar, use their search tool to check if your desired domain name is available. If it’s already taken, the tool will often suggest alternatives, such as slight variations or different extensions like .net, .org, or country-specific options such as .co.uk.

Before finalizing your choice, verify that your domain doesn’t infringe on any trademarks and check for consistency across social media platforms to maintain a unified online identity to keep it professional looking, small business or not. Once you’ve found the perfect domain, add it to your cart and choose a registration period, which typically ranges from 1 to 10 years. Opting for multiple years can save you from future price increases and ensure long-term ownership. During the checkout process, consider adding domain privacy protection to keep your personal details, like your name and email, hidden from the public WHOIS database.
Step 5: Decide on Your Website Layout
Your business website layout is the foundation of how your online presence will look and feel. It should broadly match the type of brand you have and reflect the tone of your business. There are many free website templates that can provide you with customizable templates that will make it look like a professional looking website, depending on how you use their integrated marketing tools.
But don’t stress about getting it perfect on the first try, you can always tweak and improve your layout as your brand grows and evolves. The key is to start with a strong base that can adapt to your future needs.
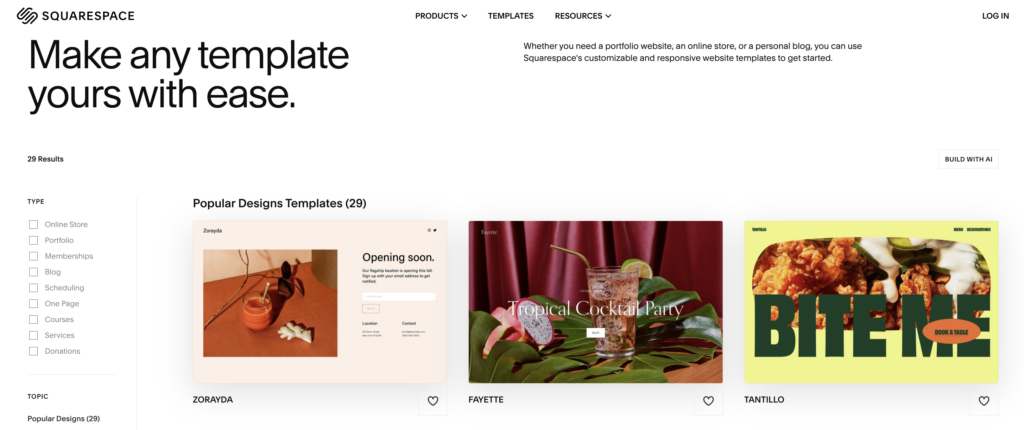
When deciding on a layout, choose a theme that offers a couple of variations. This flexibility allows you to make changes as your site expands or your brand identity becomes clearer. Additionally, look for themes with:
- built-in marketing tools
- contact forms
- blog integration
- SEO tools
- website pages
These features save you time and effort later on by eliminating the need for additional plugins or custom coding.

Avoid choosing a theme solely based on colors and fonts, but rather, select based on your brand identity—those elements can easily be customized later. Instead, focus on the overall structure and functionality. For example, if you’re running a food blog, prioritize a theme that highlights visual storytelling with large image areas and easy-to-navigate recipe categories, rather than getting hung up on whether it comes with the exact shade of green you like.
Before committing to a layout, test it thoroughly during the website creation process. Many platforms, like Wix and Squarespace, allow you to preview themes in action. Test with SEO tools, and how the layout looks on both desktop and mobile devices, and ensure it offers a seamless, user-friendly experience. Your layout should guide visitors effortlessly through your content, making it easy for them to find what they’re looking for.
Step 6: Create a SEO Content Plan
SEO, or Search Engine Optimization, is the practice of optimizing your website to improve its visibility in search engine results.

When someone searches for keywords related to your business, SEO ensures that your site appears higher in the results. The better your SEO, the more likely it is that potential clients will click on your link instead of a competitor’s.
What is Ranking?
Ranking refers to where your website appears on search engine results pages (SERPs). Higher rankings mean more visibility, traffic, and credibility.
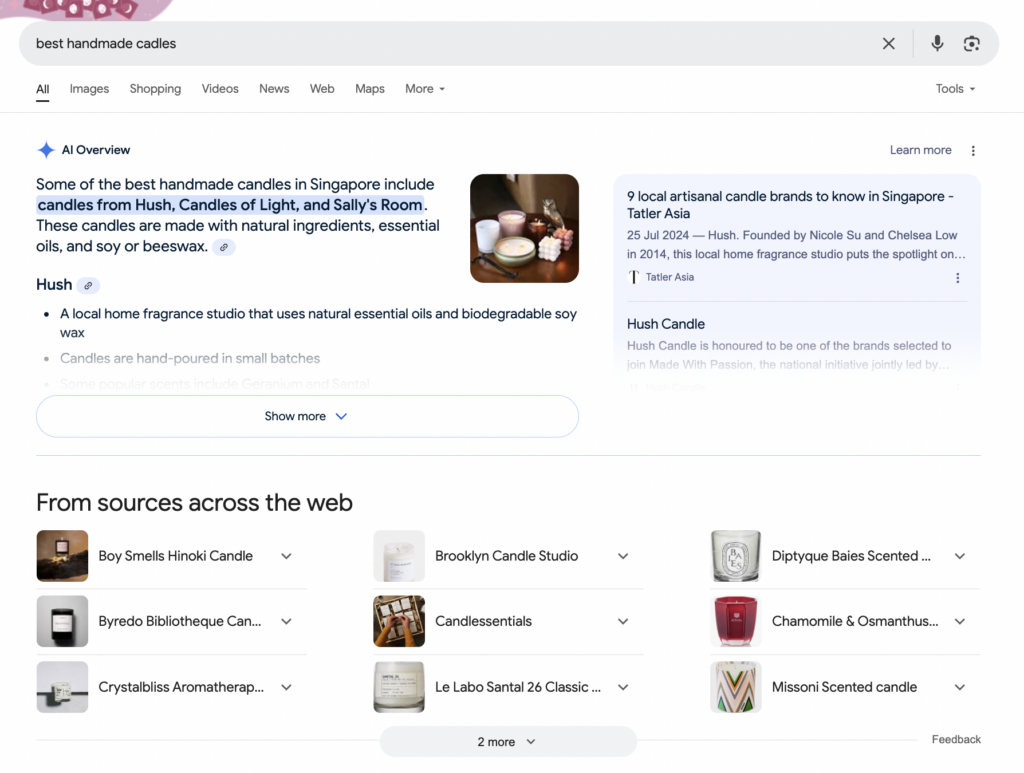
For instance, if your business sells handmade candles, you’d want your site to rank on the first page for searches like “eco-friendly candles” or “best handmade candles.” Most users never scroll past the first page, so appearing there is crucial.
Finding Keywords
Keywords are the terms or phrases people type into search engines when looking for something. To create an SEO-friendly content plan, start by researching keywords that match your business and audience. Use tools like Google Keyword Planner, Google Analytics, or Ubersuggest to identify:
- High-Volume Keywords: Popular search terms, such as “buy handmade candles.”
- Long-Tail Keywords: More specific phrases, like “soy wax candles for relaxation.”
- Low-Competition Keywords: Keywords that are easier to rank for because fewer websites target them.
Step 7: The 6 Basic Website Features
The 6 common features of most website templates include:
- Homepage
- Product Page
- Contact Page
- FAQ Page
- About Page
- Policy Page
Other bonus pages are:
- Sales
- Online/ In-person events
a. Homepage

Your homepage should answer three key questions within seconds:
- What does your business do?
- Why should someone choose you?
- What action should they take next?
Use a bold, concise headline that highlights your unique value proposition. For example:
- “Eco-Friendly Handmade Candles for Every Occasion”
- “Transform Your Home with Custom Furniture Designed to Last”
Follow up with a brief description or tagline to support your headline, keeping it simple and direct.
b. Product Pages
Your product page is the heart of your e-commerce website. It’s where visitors make the critical decision to buy, or not. A well-designed product page should showcase your product, build trust, and guide shoppers toward making a purchase.
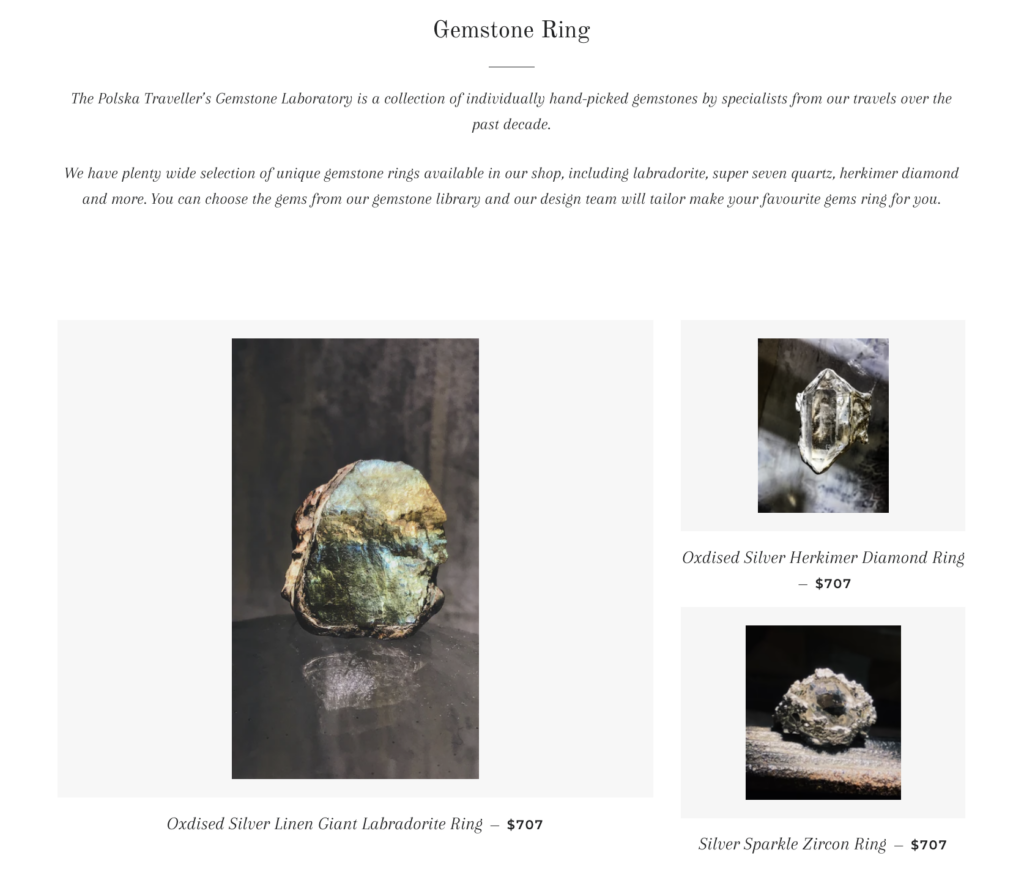
Start with a Clear and Descriptive Product Title
Use a concise yet detailed title that tells shoppers exactly what they’re looking at. Include key details like the product name, model, or feature.
Write Product Descriptions
Your product description should not only inform but also persuade. Highlight key features, benefits, and what makes your product unique. Use a conversational tone and focus on how the product solves a problem or adds value.
- Feature-focused example: “Crafted with 100% organic soy wax and infused with lavender essential oil, this candle burns cleanly for up to 40 hours.”
- Benefit-focused example: “Transform your home into a soothing retreat with our calming lavender candle, perfect for unwinding after a long day.”
Include High-Quality Product Images
Visuals are crucial for online shopping since page visitors can’t see the product in person. Include:
- Multiple angles (front, back, side).
- Close-ups of details (e.g., texture, patterns, unique features).
- Contextual shots showing the product in use.
- A zoom-in feature for detailed inspection.
c. Contact Page
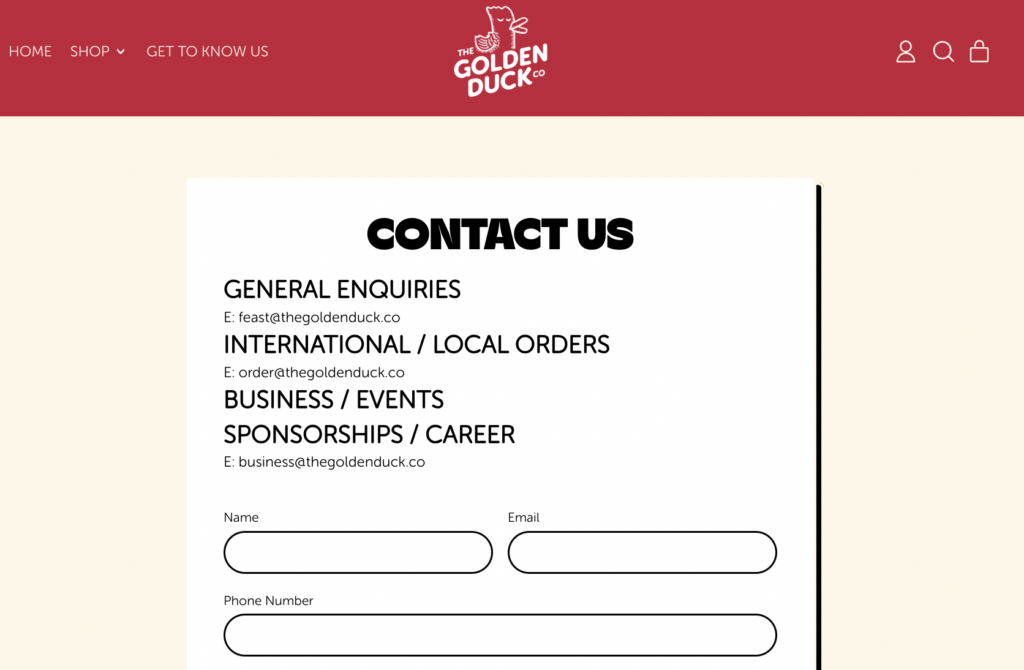
At its core, your contact page should include a simple, user-friendly form with fields for name, email address, and a message box. If relevant, you can add optional fields, like a phone number or a dropdown menu for the type of inquiry (e.g., sales, support, or general questions), but keep the form brief to avoid overwhelming users.
Social media links are another important addition.
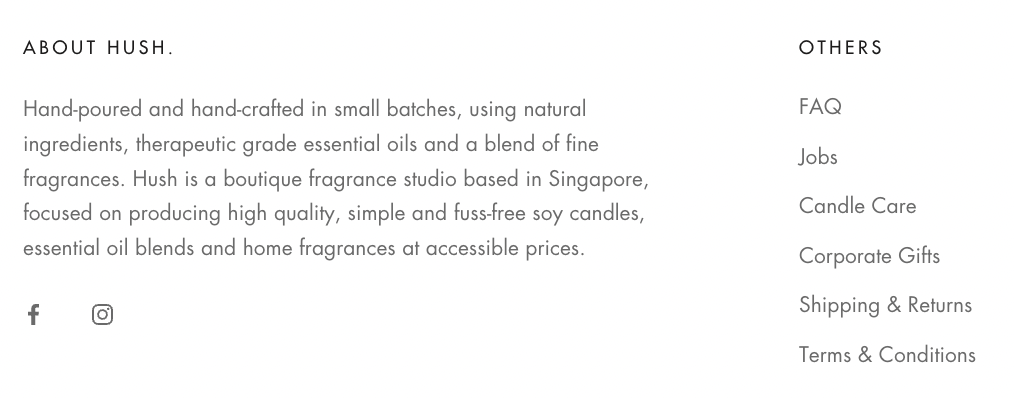
Social media links are another important addition. Encourage visitors to connect with your brand on platforms like Instagram, Facebook, or LinkedIn by adding recognizable social icons.
d. FAQ Page
An FAQ (Frequently Asked Questions) page is a valuable resource for addressing common queries and concerns visitors might have about your business, products, or services. It saves time for both your shoppers and your support team by providing clear and concise answers.
General Business Questions
- What does your company do?
- Where are you located?
- What are your hours of operation?
- How can I contact you?
Product or Service Questions
- What products do you offer?
- How can I place an order?
- Do you offer custom options or special requests?
- What are your pricing details?
Payment Questions
- What payment methods do you accept?
- Is it safe to make payments on your website?
- Do you offer discounts or promotions?
Shipping or Delivery Questions
- What are your shipping or delivery options?
- How long does shipping take?
- Do you ship internationally?
- How can I track my order?
Return or Cancellation Questions
- What is your return or exchange policy?
- How can I cancel or modify an order?
- Are there any fees for returns or cancellations?
Account or Subscription Questions
- How do I create an account?
- How can I reset my password?
- Can I cancel my subscription anytime?
- Do you offer a free trial?
Support or Technical Questions
- How can I get help with an issue?
- Do you offer customer support?
- What should I do if I encounter a technical problem?
Miscellaneous Questions
- Do you have a physical location or store?
- Are there any additional fees I should know about?
- Do you have a loyalty program or rewards system?
e. About Page

Your About Page is an opportunity to connect with your audience by telling your brand’s story and showcasing what makes your business unique. Start with your mission and vision—explain why your business exists and what you aim to achieve. Next, dive into your story by sharing how your business started, the journey you’ve taken, and the challenges you’ve overcome along the way. These personal insights can make your brand relatable and inspire trust.
Additionally, introduce the team behind your brand. Adding photos and brief bios of your key team members helps to humanize your business and create a more personal connection with your audience. Moreover, highlight your achievements, such as awards, major milestones, or media coverage, to establish credibility and showcase your success.
Finally, include a clear call-to-action (CTA) to guide visitors toward the next step. Whether it’s encouraging them to explore your products, read your blog, or contact you, a compelling CTA ensures your About Page drives engagement and action.
f. Policy Pages
Your policy pages are essential in protecting the legal rights of both you and your customer base. Having a policy page allows for the both of you to understand the legalities involved when doing business.
Privacy Policy
The purpose of a Privacy Policy is to explain how your business collects, uses, and protects users’ data. For example, it should specify what information is collected, such as email addresses, cookies, or payment details, and how this information is used, whether for marketing, analytics, or customer support. Additionally, include details about third-party sharing policies, clarifying if and how user data is shared with external entities. This policy reassures users about the security of their personal information.
Terms and Conditions
Terms and Conditions outline the rules for using your website. For instance, you should clearly define user responsibilities, such as appropriate behavior while interacting with your site. Moreover, include details about intellectual property rights, protecting your content and assets, and limitations of liability, which outline the extent of your business’s accountability in various scenarios. This policy acts as a legal safeguard for your business.
Refund and Return Policy
A Refund and Return Policy explains the conditions under which shoppers can return items or request refunds. Specifically, detail the time limits for returns, such as a 30-day window, and the types of items eligible for refunds. Additionally, provide step-by-step instructions for the return process and mention any associated fees, such as restocking charges. This policy helps manage potential customer expectations and ensures a smooth resolution process.
Shipping Policy
The Shipping Policy outlines shipping methods, costs, and delivery times. For example, specify whether you offer domestic and international shipping and provide estimated delivery times for each option. Additionally, clarify shipping fees or thresholds for free shipping, such as “Free shipping on orders over $50.” This policy is especially crucial for e-commerce businesses, as it directly affects purchase decisions.
Cookie Policy
A Cookie Policy discloses how your website uses cookies and tracks user activity. For instance, include the types of cookies used, such as those for analytics or advertising, and explain their purpose. Furthermore, provide users with options for managing their cookie preferences, ensuring compliance with regulations like GDPR. This policy enhances transparency and helps users make informed decisions about their data.
Step 8: Connect a Built In E-Commerce Payment System
Integrating a payment system is one of the most critical steps for your e-commerce website. It ensures that shoppers can seamlessly and securely purchase, creating a frictionless shopping experience. After all, no one wants a scenario where shoppers fill their carts, select their items, and then abandon the process at the payment stage out of frustration. A well-integrated payment system can make all the difference in ensuring a smooth purchasing journey.

Think about it—how often have you opted for Apple Pay or Google Pay over manually entering your credit card details during online shopping? Quick and convenient options like these are not just customer preferences; they’re expectations. By offering seamless payment solutions, you remove unnecessary friction, reduce cart abandonment rates, and create a positive checkout experience that keeps new customers coming back.
Step 9: Add business tools
Enhancing your website with business tools and integrations is a critical step in managing operations, improving customer experience, and boosting sales. These platforms allow you to build and maintain your email list effortlessly. In particular, they let you automate campaigns, such as welcome emails for new subscribers, abandoned cart reminders, and newsletters promoting special offers. By showcasing sections such as “Customers’ Favorites” or “Top Picks for You,” you can create urgency and encourage visitors to explore more products.
Step 10: Preview, Test, and Publish Your Website
Before publishing your website, it’s essential to ensure that everything functions smoothly. First and foremost, test usability to confirm that navigation is intuitive, and verify that all links, buttons, and forms work properly. Moreover, double-check that your site is mobile-responsive, as many clients will visit your site from their phones. To further enhance the user experience, use tools like Google PageSpeed Insights or GTmetrix to optimize loading speeds by reducing large file sizes and compressing images. In addition, test for cross-browser compatibility to ensure your site functions seamlessly on browsers like Chrome, Firefox, Safari, and Edge.
When it comes to payments, perform mock transactions to ensure the checkout process is secure and straightforward. Finally, proofread your content to eliminate spelling, grammar, or formatting errors, ensuring your site looks polished. Once you’ve completed these steps, your website is ready to go live!
Step 11: What to Do After Creating Your Business Website
Once your website is live, the work doesn’t stop there. To begin with, promote your website through social media platforms, email newsletters, and even business cards. For an added push, consider using paid advertising, such as Google Ads or Facebook Ads, to drive targeted traffic.

Simultaneously, maintain a blog to share valuable content like industry tips, product guides, or updates. This not only engages your audience but also boosts SEO.
In addition, monitor your site’s performance using analytics tools to track important metrics like organic traffic, bounce rates, and conversions. Based on the insights you gather, refine your website’s design and content to improve user experience. Make sure that your links are fresh, and there are no broken links. Equally important, engage with your clients actively. Respond promptly to inquiries via email or live chat, and keep them updated about new products, promotions, and events. Lastly, regularly update your website with fresh content, seasonal campaigns, or new features to ensure it stays relevant and competitive. By focusing on these ongoing tasks, you can create a dynamic online presence that supports your business’s long-term growth.
Final Words
Finally, it’s hard to create a website, but just remember the 12 steps to cover, with the first step being to create your own logo.

Turn your ideas into reality with the Arvin AI Logo Designer. Perfect for new businesses, startups, and creators.
FAQ
Can I create my own website for free?
Yes, platforms like Wix, Weebly, and WordPress.com offer free plans. However, these plans often come with limitations, such as ads and a subdomain (e.g., yourbusiness.wixsite.com). Upgrading to a paid plan provides a custom domain and more features.
Is Google Business Sites free?
Yes, Google Business Sites is free and included with Google Workspace. It allows users to create simple, professional websites connected to their Google Business Profile. However, the customization options are limited compared to other platforms.
How do I create a personal website for my small business?
Start by selecting a website builder or hosting platform tailored to small businesses. Design a professional layout with clear branding and showcase your products. Include personal touches like an “About Me” section and testimonials to build trust with your audience.
What are some building tools that a free website builder should have?
A user-friendly drag-and-drop interface, customizable templates, and potentially AI-powered design tools
What are built-in marketing tools?
They are features or functionalities integrated within a platform or software that help businesses promote their products, such as email marketing, social media management, and website analytics.
How to create a qr code for my business website?
To create a QR code for your business website, use a free online QR code generator like Adobe Express, Canva, or QR Code Monkey. Simply paste your website URL into the generator, customize the design (if desired), and then download the QR code image.
