Vectorization is an important way in creating scalable, high-quality images. If you’ve ever needed to resize an image for a logo, banner, or website without losing clarity, you’ve encountered the need for vectorization. The quality or sharpness and clarity never degrade in a vector; it remains intact regardless of the size. This article takes a comprehensive approach to clarify vectorization. What this is, to what options are available for the said process, and, finally to a step-by-step guide through how to vectorize an image.
Understanding Vectorization
Vectorization is a process that most designers and creators rely on to change raster images into scalable vector graphics. It is especially important in the process since images remain sharp and clear, regardless of the size of the image. To understand this procedure completely, it is best to delve into what is vectorization and why, it is preferred for a logo, illustrations, among others.
What is Vectorization?
The vectorization process takes an image and converts a raster into a vector. The raster is basically made of tiny little squares of color which altogether how to vectorize an image; however, when zooming in on a raster, it displays all these tiny squares and tends to appear as though the image has turned all pixelated. For example, a vectorized logo will look crisp on both a business card and a billboard. Vector graphics are stored in formats like SVG (Scalable Vector Graphics), EPS (Encapsulated PostScript), and AI (Adobe Illustrator).
Why Vectorize an Image?
There are a few reasons how to vectorize an image is helpful:
- Scalability: Vector graphics can be scaled up or down without losing clarity. This is necessary for transparent logos that must be used across different platforms and formats.
- Clarity: Unlike raster images, vectors will retain crisp and clean edges regardless of how much they are resized or zoomed in.
- Editability: In vector graphics, designers can change specific elements of the design without affecting the rest of the how to vectorize an image. This allows for easier customization and fine-tuning of designs.
- Versatility: Vectorized images are ideal for use in both print and digital formats, providing consistency in branding and design.
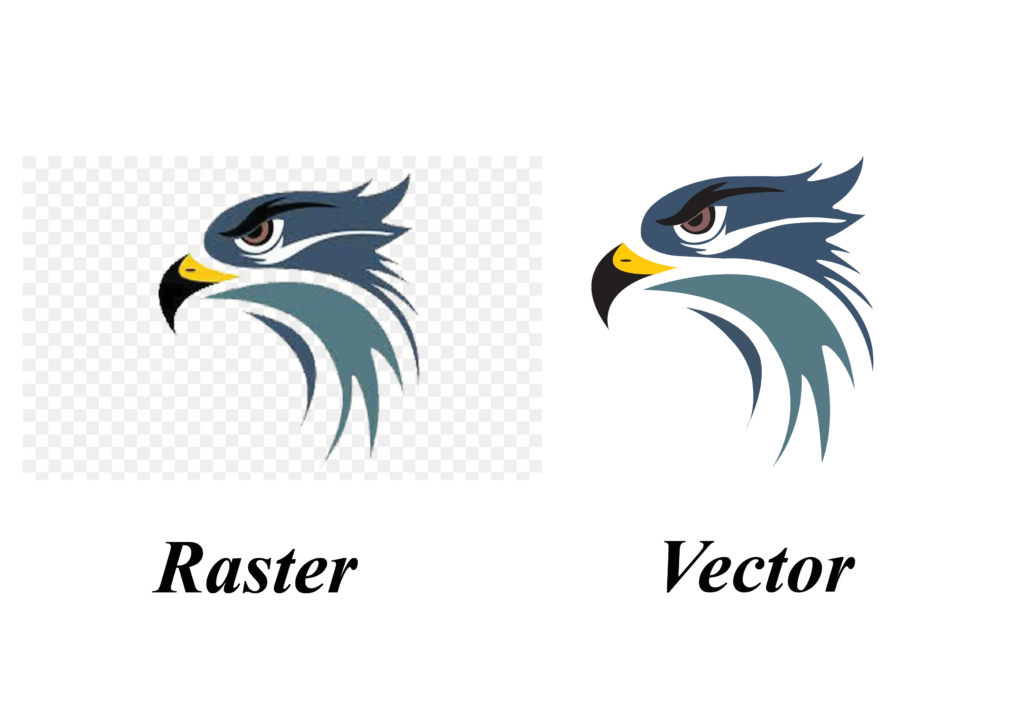
Key Differences between Raster and Vector Images
Working with images, knowing the format is important: Raster and vector serve different purposes, and you can only make better decisions about them if you understand their differences. The reason for this section is to explain how raster images work with pixels, how to vectorize an image use paths and why they are better than raster images, what their advantages are, but also to explain why sometimes you have to even vectorize in order to get nice results.
Composition:
- Raster Images: These are composed of pixels, which are tiny squares of color. If the pixel has a fixed resolution then each time the image is scaled there is a limit on the point of no return beyond that the image will start losing quality.
- Vector Images: Paths defined by mathematical equations make up these. The paths form the shape, the line and the curves and you are able to resize them infinitely without distortion.
Resolution:
- Raster: The quality of the image is tied to its pixel density. Enlarging a raster image results in pixelation.
- Vector: the image will always be sharp and clear at any size.
File Size:
- Raster: High-resolution images can have large file sizes, which may slow down storage or transfer.
- Vector: Typically smaller in size, as the how to vectorize an image is represented mathematically rather than pixel by pixel.
Use Cases:
- Raster: Very appropriate in detailed photographs, etc.
- Vector: Logotypes, icons, illustrations designs that would require scaling-up.
Tools and Software for Vectorizing Images
The right tool for vectorizing can be what makes a difference in quality and, above all, efficiency with your work. Professional software like Adobe Illustrator to free alternatives like Inkscape, are very specific due to their budget and need. This part reviews the best vectorizing tools along with their functionalities to guide you to selecting the best for your next project:
- Adobe Illustrator: This is one of the most popular tools used today for vector graphic creation, as well as editing.
- CorelDRAW: That is another professional tool mainly used for creating and enhancing vector images.
- Inkscape: Available free of charge, but open source, vector-design software. It’s newbie-friendly and ideal for beginners who are looking for no-cost options.
- Vector Magic: This software is particularly designed for auto-vectorization. It’s easy to use and also gives the right output.
Step-by-Step Guide: Manual Vectorization
Manual vectorization is the route that everyone in need of having control over their vector graphics. As much as it is a time and labor-consuming procedure, it will provide accurate results, as well as personalization, to a design. For a logo or detailed illustration, following these steps can help in creating a result of the best quality with full control over the process of vectorization.
Steps to follow
- Open a vector editing software such as Adobe Illustrator or Inkscape.
- Load the raster image you want to vectorize into the program. Position the image on the workspace for easy tracing.
- Use the pen or bezier tool to manually outline the key elements of the image.
- Pay close attention to curves, edges, and shapes to ensure accuracy.
- Once you’ve traced the how to vectorize an image, fill the shapes with the appropriate colors to match the original image.
- Adjust the paths and shapes to ensure the vectorized image looks clean and polished.
- Export the finished vector graphic in a format like SVG or EPS.
Step-by-Step Guide: Automatic Vectorization
One alternative to the traditional tracing involved in raster-to-vector operations is automatic vectorization-which is faster, too. This is convenient to use for beginners as the software does all of it within mere moments. With this effortless technique, you can reach almost professional results with even fewer efforts. It goes as follows:
Steps to follow
- Choose a tool like Vector Magic, Adobe Illustrator, etc.
- Import your raster image into the application.
- Select settings such as detail level, smoothing, and color to suit the needs of the output you want.
- Let the tool create the vector automatically from the image.
- Tweak the generated vector for any mistakes or changes.
- Save the vectorized image in your desired format for future use.
Best Practices for Vectorizing Images
High quality vector graphics does not only happen with tools but a lot of technique and attention to detail. Follow best practices to ensure your vectorization process is smooth and your results are exceptional. In this section I’ll go over some critical tips when making top notch vectors while avoiding common errors that might ruin your work.
Tips for ensuring high-quality vector results:
- Begin with a high-resolution raster image to increase the accuracy in vectorization.
- Simplify complex images to concentrate on the most important elements.
- Use the right color settings to ensure it is consistent with the original design.
- Try out several tools to find the best one for your project.
Common Mistakes to Avoid:
- Using low-quality raster images, which can produce poor vectorization.
- Overcomplicating designs with unnecessary details.
- Ignores alignment and proportions when tracing manually.
Creative Applications of Vectorized Image
Vectorized images are not just a design technique but a gateway to creativity and versatility. There are countless ways we use vector graphics; from packaging and branding, to marketing and web design and merchandise. We get into the innumerable ways to use vectorized images in so many projects in so many industries and so many places.
- Branding: Logos, business cards, and other marketing materials are enhanced by the scalability and clarity of vector graphics.
- Digital Art: Artists use vector tools to create clean, scalable illustrations.
- Web Design: Vector graphics ensure responsive and sharp how to vectorize an image on websites and apps.
- Apparel and Merchandise: T-shirt designs and promotional items require high-quality vector files for printing.
- Signage and Advertising: Large-scale prints like banners and billboards rely on vector graphics to avoid pixelation.
Transform Your Brand with Arvin AI—Logo Design and Vectorization Made Easy
Arvin AI is changing the game for designers and businesses in logo creation and vectorization. A professional designer or a novice can use Arvin AI, with its user-friendly features that guarantee quality. It helps users with varied creative needs in saving time and effort by providing services like automated vectorization, among others, up to customization designs. This article goes into more detail on what sets apart Arvin AI from regular tools. Find out more about how Arvin AI can further polish your branding and design works through the most accurate efficiency.
Key Features of Arvin AI
- Automated Vectorization: Turn your raster image into a great vector within several clicks.
- Customizable Outputs: Offers tools to edit, tweak, and perfect vectorized images to match your exact requirements.
- Supports Multiple Formats: Allows exporting vector files in popular formats like SVG, EPS, and AI for versatile use.
- User-Friendly Interface: Designed with simplicity in mind, making it accessible for beginners and professionals alike.
- Fast Processing: Delivers efficient results without compromising on quality, saving time on complex projects.
- Affordable: Combines professional-grade features with competitive pricing, value for money.
Steps to create logo and save in SVG format
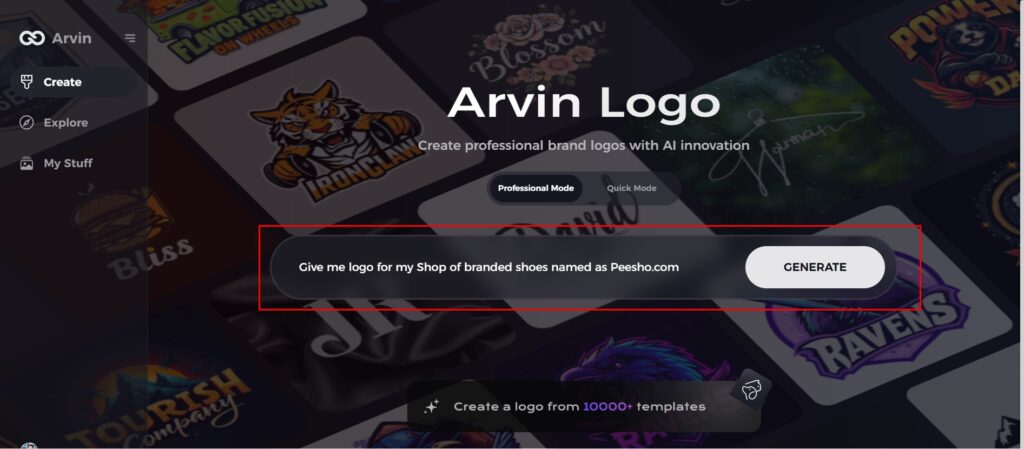
Step 1: Go to the Arvin AI Website
Open your browser and go to Arvin Logo Maker to begin designing your unique company logo.
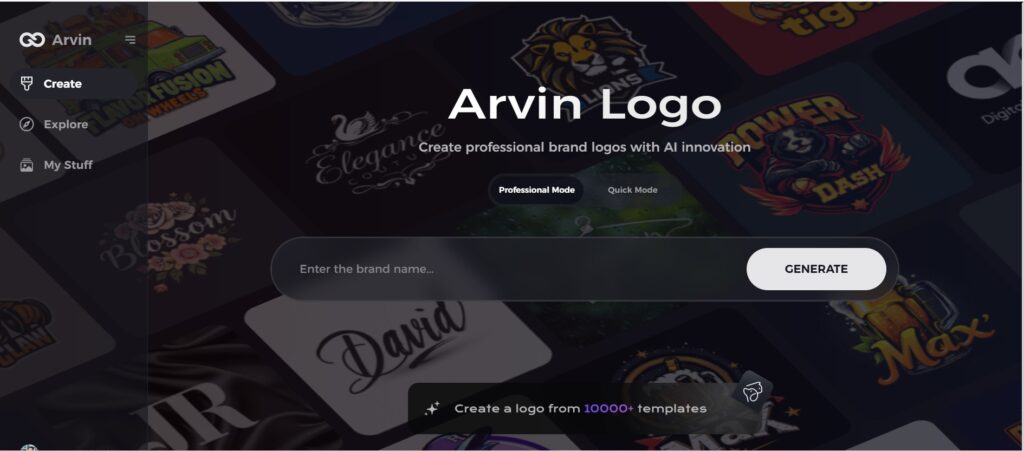
Step 2: Enter Your Company Information
Input your company’s name and select the category for your business. This will help Arvin AI create a logo that is specific to your company’s identity and values.
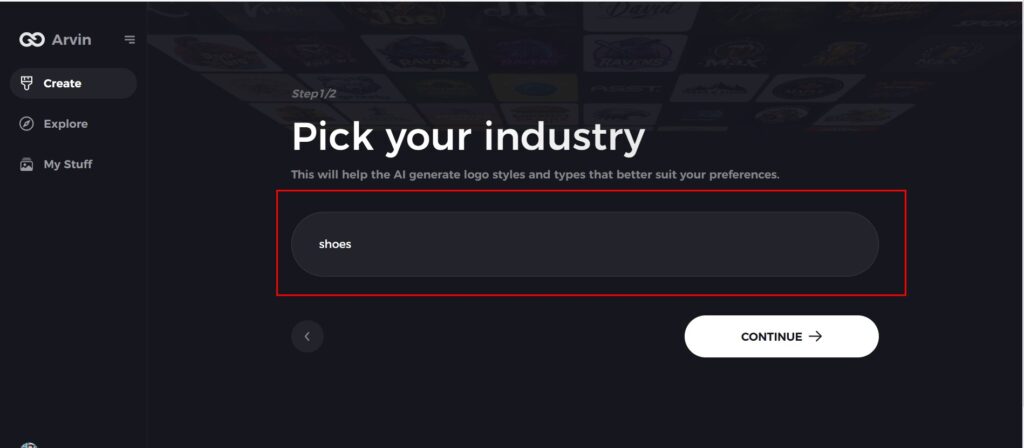
Step 3: Select Your Industry
Choose the industry your business operates in. So that the logo designs according to your specific market niche and brand identity.
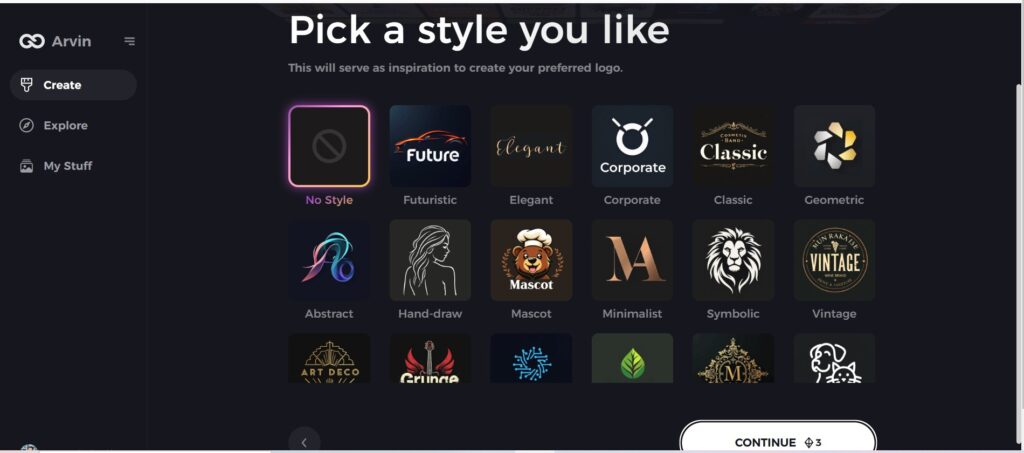
Step 4: Choose a Design Style
Pick a design style that resonates with you. If you’re unsure, leave it set to “no style,” and Arvin AI will generate logos based on its default creative input.
Step 5: Preview Logo Concepts
Browse through the logo designs created by Arvin AI. Take your time and review the options to select one that best represents your brand.
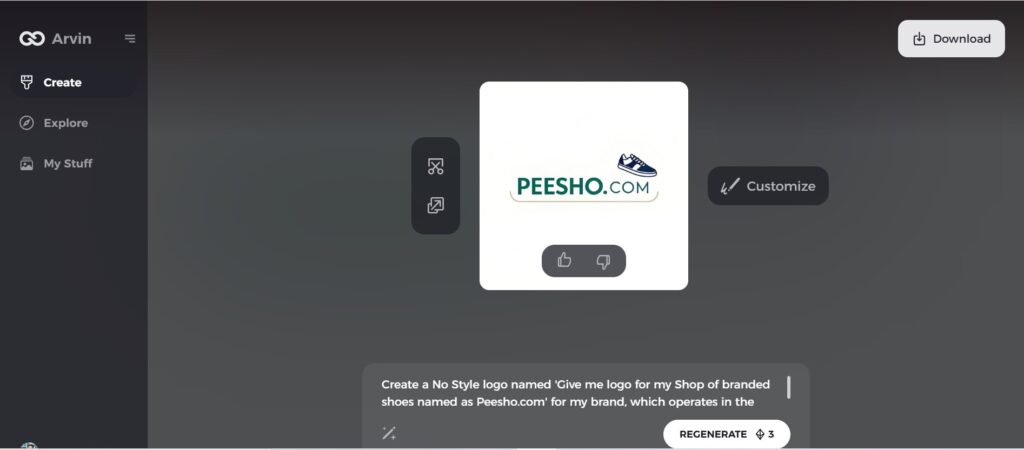
Step 6: Finalize Your Logo
Adjust the selected logo with colors, fonts, and icons to match your brand’s personality. Ensure it aligns with your business’s aesthetics and vision.
Step 7: Vectorize and Save Your Logo in SVG Format
Once you are happy with your design, save your logo in a high-quality vector format, such as SVG. Vectorizing your logo means that it will look great at any size whether on a website, social media, or in print materials.
Conclusion
Vectorization of images are helpful in the formation of scalable and professional graphics. If you’re designing a logo, making digital art, or creating large-scale prints, you want your image to stay sharp and clear regardless of its size. Using Arvin AI and tools similar for how to vectorize an image, vectorization has become an even more streamlined process. Make great vectors fast and effectively and explore vectorization today.
FAQs
What are the best kinds of images to vectorize?
The best images for vectorization are those that have clear edges, high contrast, and minimal noise. This results in better accuracy.
Is vectorization going to lower the quality of my images?
No, vectorization will make your images scaly and clear. Your image will be sharp and clean at any size.
Are there free tools for image vectorization?
Indeed, some of the tools such as Inkscape and certain online platforms provide free alternatives for basic vectorization requirements.